We've simplified how to add and edit Schedules and Tuitions in your account. You'll set your schedule when adding a tuition rate.
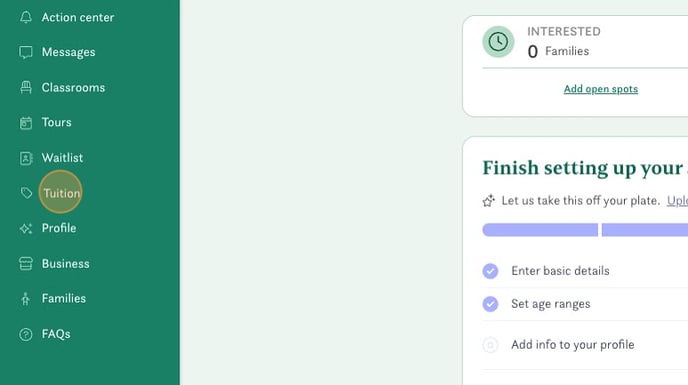
- To add a new tuition rate first click on the "Tuition" section.
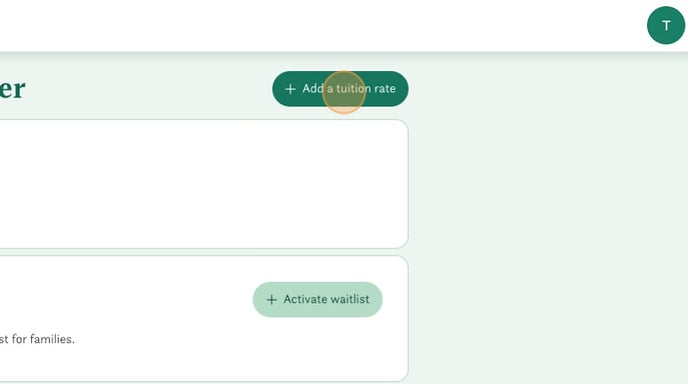
- Click "Add a tuition rate"
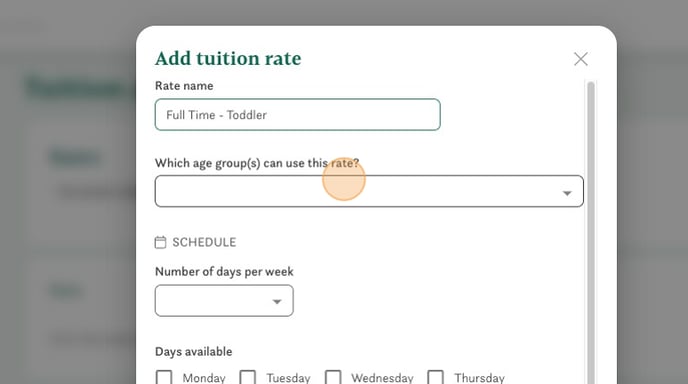
- Name your tuition rate, remember that families see this name so make sure it's easy to understand. For example "Full Time Toddlers" or "Infants - 3 Days per Week".
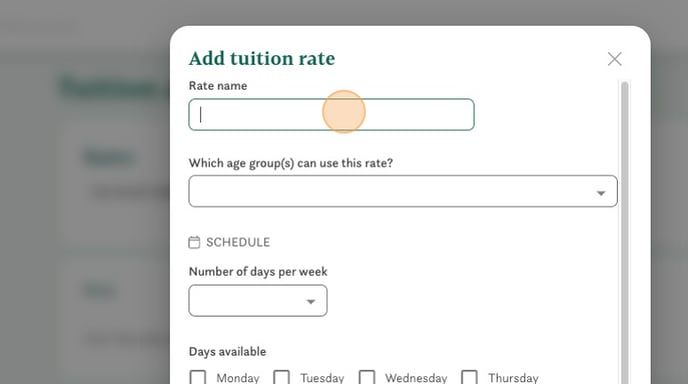
- Select the age group that this tuition applies to.
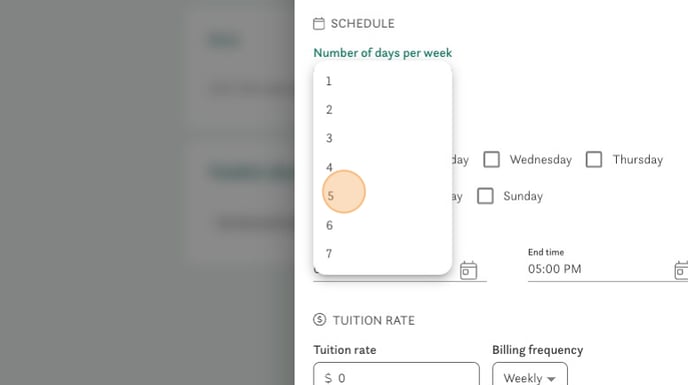
- Set the number of days per week for this tuition rate.
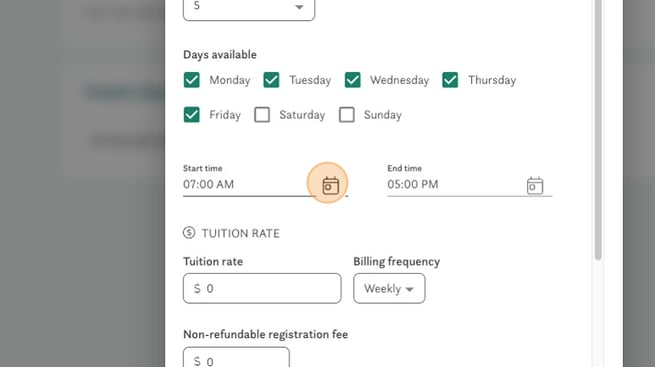
- Choose the days that are eligible for this tuition.

- Set the start and end times for this tuition.
- You can change the billing frequency of your tuition rate using the drop down.
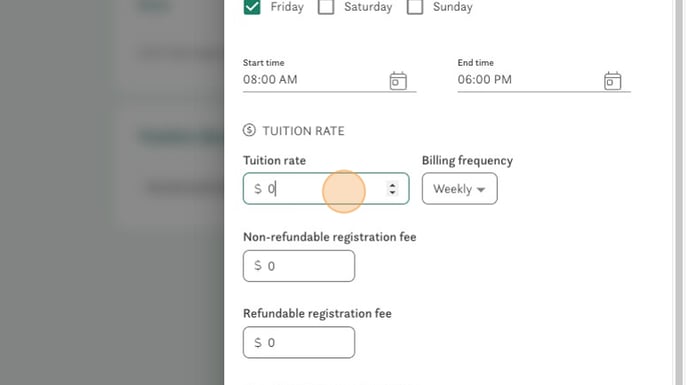
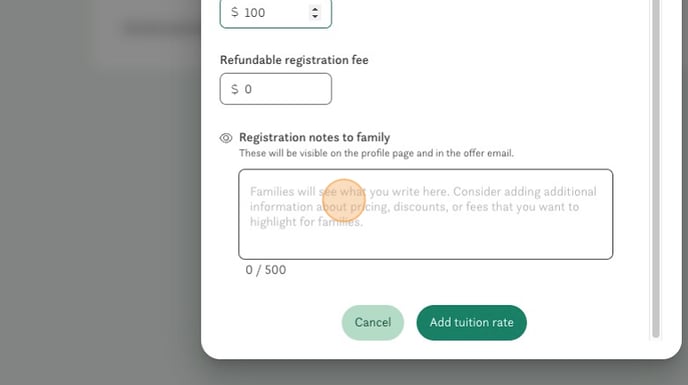
- If you have a registration fee be sure to put it in the correct field (refundable or non-refundable).
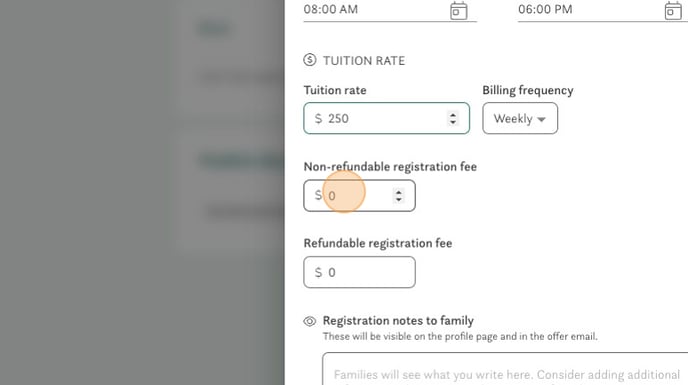
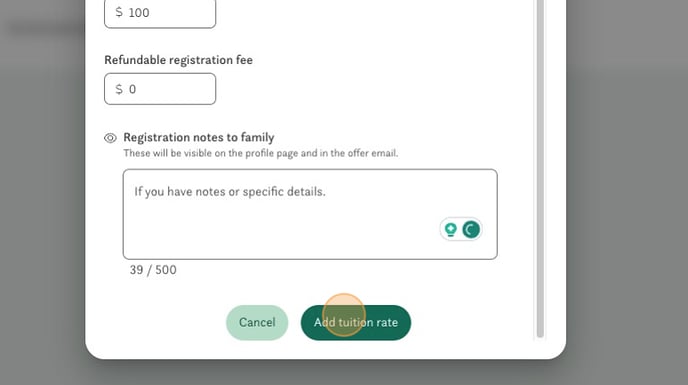
- Add any specific notes that families should know about this tuition rate.
- Save your work by clicking "Add tuition rate"
You've added your tuition rate and set the schedule associated. You can now easily use this as a template by clicking the three small dots and choosing "duplicate" if you have other tuition rates to add.
Have any questions or need some help? Reach out to us through the in-platform chat, book a call with our team, or email us at support@kinside.com.